Introduction
For individuals living with diabetes or at risk, blood sugar monitoring is one of the most important tools in managing their condition. Whether you’re using a traditional glucose meter or a continuous glucose monitor (CGM), tracking your glucose levels helps prevent complications and guides daily decisions on diet, activity, and medication.
Understanding the available monitoring tools and knowing your target ranges is essential for effective diabetes management.
1. Why Monitor Blood Sugar?
Regular monitoring helps:
- Detect highs (hyperglycemia) and lows (hypoglycemia)
- Adjust medications, diet, and exercise
- Prevent long-term complications like nerve, kidney, and heart damage
- Understand how food, activity, stress, and illness affect glucose levels
Monitoring is recommended for:
- People with Type 1 diabetes
- Those with Type 2 diabetes on insulin or medications
- People with gestational diabetes
- Anyone with prediabetes making lifestyle changes
2. Blood Glucose Monitoring Methods
Traditional Blood Glucose Meters (BGM)
How it works:
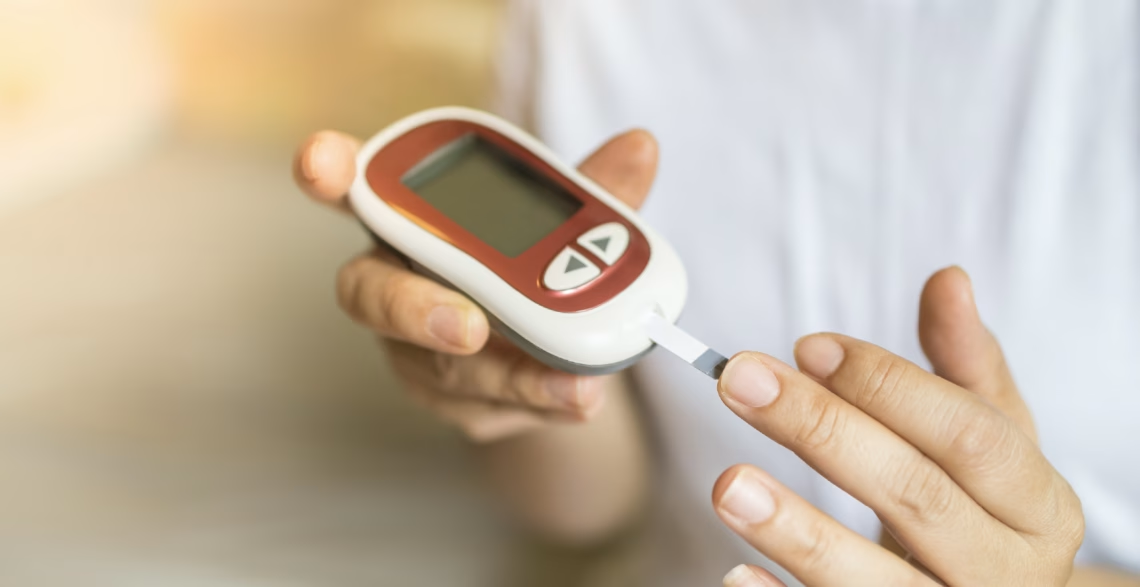
- A small drop of blood (usually from the fingertip) is placed on a test strip inserted into a meter.
- The meter displays the current blood glucose level within seconds.
Pros:
- Affordable and widely available
- Easy to use
- Portable
Cons:
- Requires fingersticks multiple times a day
- Only provides a snapshot (not continuous data)
Continuous Glucose Monitors (CGMs)
How it works:
- A small sensor is inserted under the skin (usually on the abdomen or arm).
- It measures glucose in interstitial fluid every few minutes and sends data to a smartphone or receiver.
Pros:
- Real-time glucose readings every few minutes
- Tracks glucose trends and alerts for highs and lows
- No routine fingersticks (though calibration may still be needed for some systems)
Cons:
- More expensive
- May require a prescription
- Some users may find wearing the sensor uncomfortable
Popular CGM Brands:
- Dexcom G6/G7
- Freestyle Libre 2/3
- Medtronic Guardian
3. Choosing the Right Device
Choosing the right glucose monitoring method depends on several factors:
| Factor | Traditional Meter | CGM |
| Cost | Lower | Higher (insurance may help) |
| Ease of Use | Simple but requires fingersticks | More convenient, minimal manual input |
| Data Availability | Snapshot | Continuous data and trends |
| Alerts/Alarms | No | Yes, alerts for highs and lows |
| Lifestyle Fit | Best for occasional checks | Ideal for active/insulin users |
Talk to your healthcare provider to determine which option is best for your condition, treatment plan, and insurance coverage.
4. Understanding Target Blood Sugar Ranges
Target ranges may vary slightly depending on age, health status, pregnancy, and doctor’s recommendations, but general guidelines include:
| Time | Target Range (mg/dL) |
| Fasting (before meals) | 80–130 |
| 1–2 hours after meals | Less than 180 |
| Bedtime | 100–140 |
| A1C (3-month avg.) | Less than 7% (general goal) |
Hypoglycemia (Low Blood Sugar):
- Below 70 mg/dL
- Can cause shakiness, sweating, confusion, and in severe cases, loss of consciousness
Hyperglycemia (High Blood Sugar):
- Above 180 mg/dL after meals
- Can lead to fatigue, thirst, frequent urination, and long-term damage if persistent
5. How Often Should You Check?
Type 1 Diabetes:
- Multiple times a day (before meals, snacks, exercise, bedtime, and if feeling symptoms)
- CGM users may reduce or eliminate fingersticks
Type 2 Diabetes:
- Varies depending on treatment (e.g., insulin vs. oral meds)
- Often recommended: 1–3 times/day, or as directed by your doctor
Gestational Diabetes:
- Typically 4+ times a day (fasting and after meals)
Prediabetes/Lifestyle Monitoring:
- Less frequent, usually periodic testing for feedback on diet/exercise changes
6. Tips for Accurate Monitoring
- Wash hands before testing (food residue can affect results)
- Store test strips in a dry, sealed container
- Check your meter’s expiration dates
- Calibrate your CGM if required by the system
- Keep a log or use an app to track and share with your healthcare provider
7. Using Results to Make Informed Choices
- High readings? Adjust carb intake, increase physical activity, or talk to your provider about medication.
- Low readings? Eat fast-acting carbs (juice, glucose tablets), then recheck in 15 minutes.
- Use patterns to prevent future spikes or drops.
- Share data regularly with your diabetes care team for adjustments.
Conclusion
Monitoring your blood sugar is a cornerstone of effective diabetes management. Whether you choose a traditional meter or a CGM, consistent tracking helps you stay in control, avoid complications, and tailor your lifestyle and treatments.
Know your numbers. Choose the right tools. Stay informed. Your heart, kidneys, eyes—and quality of life—depend on it.
FAQs:
How often should I check my blood sugar?
It depends on your type of diabetes and treatment. Type 1 diabetics may check multiple times daily; Type 2 diabetics may check less frequently, depending on medication and control.
What’s the normal blood sugar range?
Before meals: 80–130 mg/dL.
1–2 hours after eating: Less than 180 mg/dL.
What’s the difference between a glucose meter and a CGM?
A glucose meter gives single readings via fingerstick; a CGM provides real-time, continuous data and trends with fewer fingersticks.
Can I use a CGM without a prescription?
Most CGMs require a prescription in the U.S., though some over-the-counter options may become available soon.
Do I still need fingersticks if I use a CGM?
Some CGMs still require occasional calibration with fingersticks, but many newer models are factory-calibrated and do not.


