Introduction
High blood pressure (hypertension) is a leading cause of heart disease, stroke, and kidney failure worldwide. Because it often has no symptoms, it’s known as the “silent killer.” One of the most effective ways to stay ahead of the condition is by regularly checking your blood pressure at home.
Home blood pressure monitoring empowers you to track your progress, evaluate lifestyle changes, and alert your doctor to concerning trends—all from the comfort of your home. However, for results to be meaningful, accuracy is essential. This article provides a step-by-step guide to accurate home blood pressure monitoring, from choosing the right device to avoiding common mistakes.
Why Home Monitoring Matters
Home monitoring offers many advantages:
- Early detection of high blood pressure
- Tracking the effectiveness of medication or lifestyle changes
- Avoiding “white coat syndrome” (elevated readings at the doctor’s office)
- Detecting masked hypertension (normal in the clinic, high at home)
- Providing valuable data to healthcare providers
Studies show that home monitoring, combined with professional care, improves blood pressure control and outcomes.
Choosing the Right Blood Pressure Monitor
Not all monitors are created equal. Here’s what to consider:
1. Type of Device
- Upper Arm Monitors (Recommended): Most accurate for home use.
- Wrist Monitors: Convenient but often less accurate.
- Finger Monitors: Not recommended due to inconsistent readings.
2. Cuff Size
- The cuff must fit your arm correctly. Measure your upper arm’s circumference and check the sizing guide on the device.
- A poorly fitting cuff can give false readings—either too high or too low.
3. Features to Look For
- Large, readable display
- Memory for storing previous readings
- Irregular heartbeat detection
- Bluetooth or app syncing (optional)
4. Validation
- Choose a monitor that’s clinically validated and approved by organizations like:
- AHA (American Heart Association)
- BHS (British Hypertension Society)
- ESH (European Society of Hypertension)
Preparing for an Accurate Reading
1. Time It Right
- Best times: Morning (before medications) and evening
- Avoid caffeine, exercise, alcohol, smoking, and heavy meals 30 minutes before measuring
2. Empty Your Bladder
- A full bladder can falsely elevate your reading by 10–15 mmHg
3. Find a Quiet, Comfortable Space
- Sit in a chair with back supported, feet flat on the floor
- Rest quietly for 5 minutes before measuring
4. Position Matters
- Arm should be supported at heart level
- Do not cross your legs
- Keep still and silent during the measurement
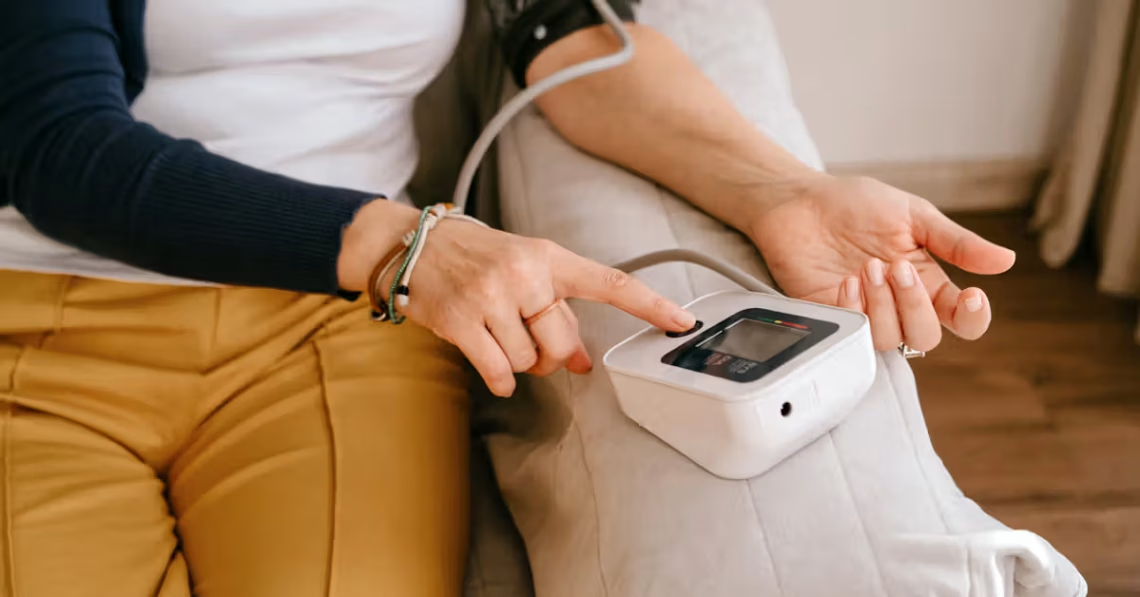
How to Measure Blood Pressure at Home: Step-by-Step
- Place the cuff on your bare upper arm, about an inch above the elbow
- Make sure the tubing is aligned with the artery in your arm (usually marked on the cuff)
- Sit up straight with back and arms supported, feet flat on the floor
- Relax for 5 minutes before starting the machine
- Press the start button and remain still and silent while it inflates and deflates
- Record the reading:
- Systolic (top number): pressure during a heartbeat
- Diastolic (bottom number): pressure between beats
- Pulse (optional): beats per minute
- Take 2–3 readings, 1 minute apart, and record the average
Recording and Interpreting Readings
| Blood Pressure Category | Systolic | Diastolic |
| Normal | <120 | <80 |
| Elevated | 120–129 | <80 |
| Hypertension Stage 1 | 130–139 | 80–89 |
| Hypertension Stage 2 | ≥140 | ≥90 |
| Hypertensive Crisis | >180 | >120 |
Note: If your readings consistently fall in Stage 1 or higher, contact your healthcare provider.
How Often Should You Check?
- Initially: Twice daily (morning and evening) for 7 days
- Long term: As recommended by your doctor, often a few times a week if stable
- Always track results in a log, journal, or app to share with your provider
Common Mistakes That Skew Results
- Using the wrong cuff size
- Placing the cuff over clothing
- Sitting in the wrong position (e.g., feet dangling, back unsupported)
- Talking or moving during measurement
- Checking only once instead of averaging multiple readings
When to Contact a Doctor
Seek medical attention if:
- Your systolic pressure is over 180 mmHg OR
- Your diastolic pressure is over 120 mmHg
AND you’re experiencing symptoms like: - Chest pain
- Shortness of breath
- Headache or dizziness
- Blurred vision or confusion
This may be a hypertensive crisis.
Tips to Improve Accuracy and Consistency
- Use the same arm each time
- Calibrate your monitor every 1–2 years at a doctor’s office
- Take your monitor to appointments to compare readings
- Keep a consistent routine and measure time
Conclusion
Home blood pressure monitoring is a simple yet powerful tool in the fight against hypertension. With the right equipment, proper technique, and regular tracking, you can gain valuable insights into your health and catch problems early, before they become serious.
When done correctly, home monitoring not only improves accuracy but also empowers you to take control of your cardiovascular health. Remember: knowledge is power, and in this case, it can be life-saving.
FAQs:
1. How often should I check my blood pressure at home?
Twice a day (morning and evening) for the first week, then a few times per week or as advised by your doctor.
2. Which arm should I use for blood pressure readings?
Use the same arm every time, typically the one your doctor recommends—often the left arm.
3. Can I check my blood pressure after eating or exercising?
No. Wait at least 30 minutes after eating, drinking caffeine, smoking, or exercising for an accurate reading.
4. Are wrist monitors accurate?
Wrist monitors can be less accurate than upper-arm models. If you use one, ensure your wrist is at heart level during measurement.
5. What is the best position for measuring blood pressure at home?
Sit upright with your back supported, feet flat on the floor, and your arm supported at heart level.